Phases, budgets, rates
Add and name phases, choose a budget in money or hours, and control where the rate comes from. New phases stay in creation order and cannot be reordered.
Add and name phases
- Open the project's menu and choose Edit project.
- In Phases, choose Add phase, enter a name, then choose Add or press Enter.
- To rename a phase, edit its name in the row. It saves when you leave the field.
New phases are added at the end and stay in creation order. There is no phase reordering control, so add them in the order you want them shown.
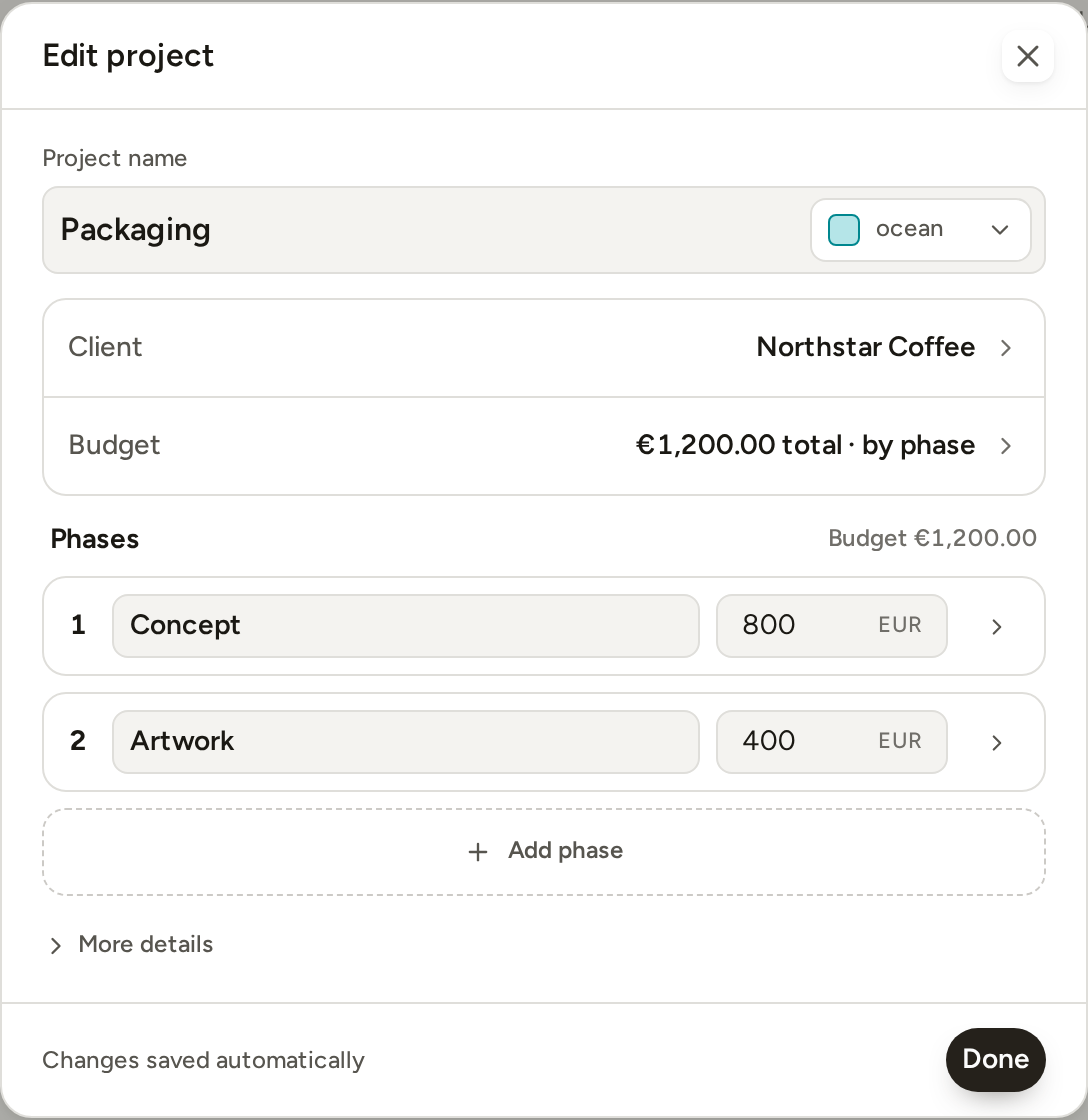
A phased project keeps at least two visible phases. Free projects can keep two. Pro projects can add more. Only an empty phase can be removed.
Choose a money or hours budget
Each phase can hold one budget in one unit. A money budget preserves the amount you entered. An hours budget preserves the time you entered. The other unit is derived from the phase's current resolved rate.
In the primary billing setup, the budget is also the agreed price. It drives budget health and effective rate. Going over it does not stop time tracking or raise the price.
A phased project's Budget row offers two ways to enter the budget:
- Per project splits one total evenly across the phases. Each phase's share is read-only in its row.
- Per phase lets you enter a different budget in each phase row. The phase header shows the combined total.
Switching the unit converts the current figure and makes the new unit the saved source. Editing or removing a budget recalculates the live price, health and effective rate immediately. Existing reports keep their frozen work, budgets and amounts.
Understand which rate applies
Phased uses the most specific rate that is set:
- A custom rate on the phase.
- A custom rate on the project.
- Your workspace default rate.
Set a project rate under Edit project › More details › This project's rate. Choose Custom to enter it.
For different rates by phase, turn on Rate per phase. Then open each phase's Settings and enter its Custom rate. An empty field shows the inherited rate as a placeholder.
Turning Rate per phase off clears the saved phase overrides. Switching the project back to Default also clears them. Custom project and phase rates need Pro.