Creating entries
Drag over empty calendar time to create an entry, or click for 15 minutes. Move a block by its body, resize it from either edge, divide work with two entries.
Create an entry by dragging
Draw an entry directly over the time you worked. You need at least one project before the calendar can save an entry.
- Press an empty slot and drag down. Phased snaps the block to 15-minute steps as you drag.
- Release. The New entry panel opens beside the
block. Choose a project, and choose a phase if it is a phased project.
A workspace with no project yet is asked to create one first.
- Add a task or note if it helps describe the work. Both are optional. Press Add to save the entry.
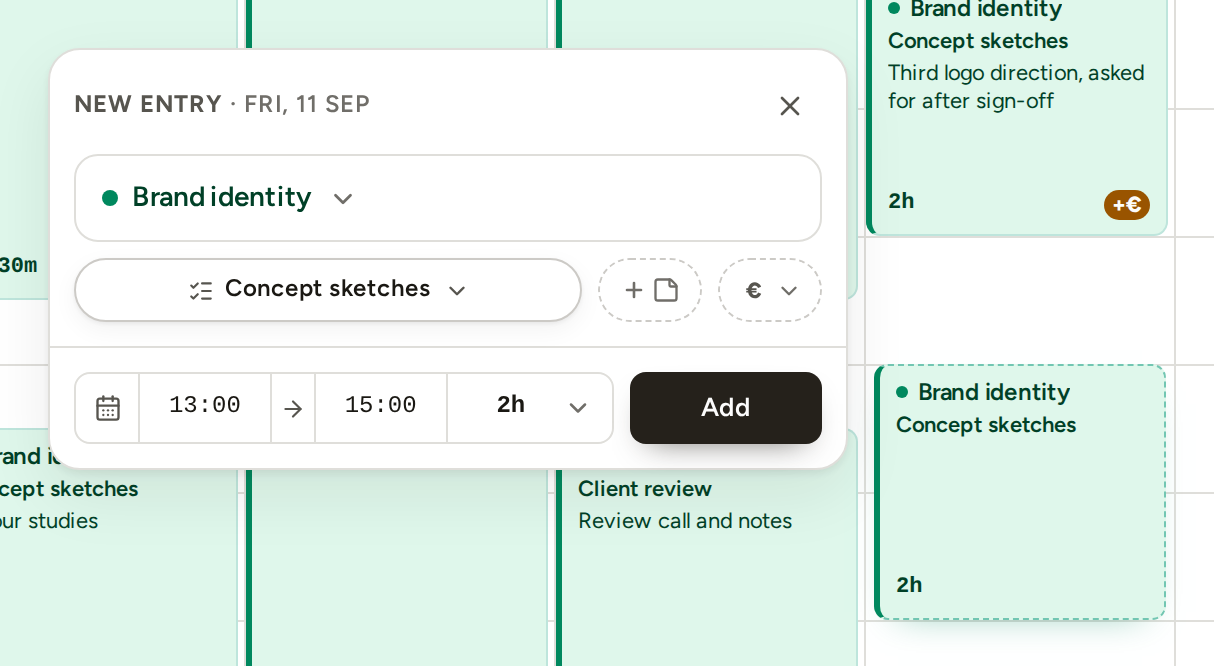
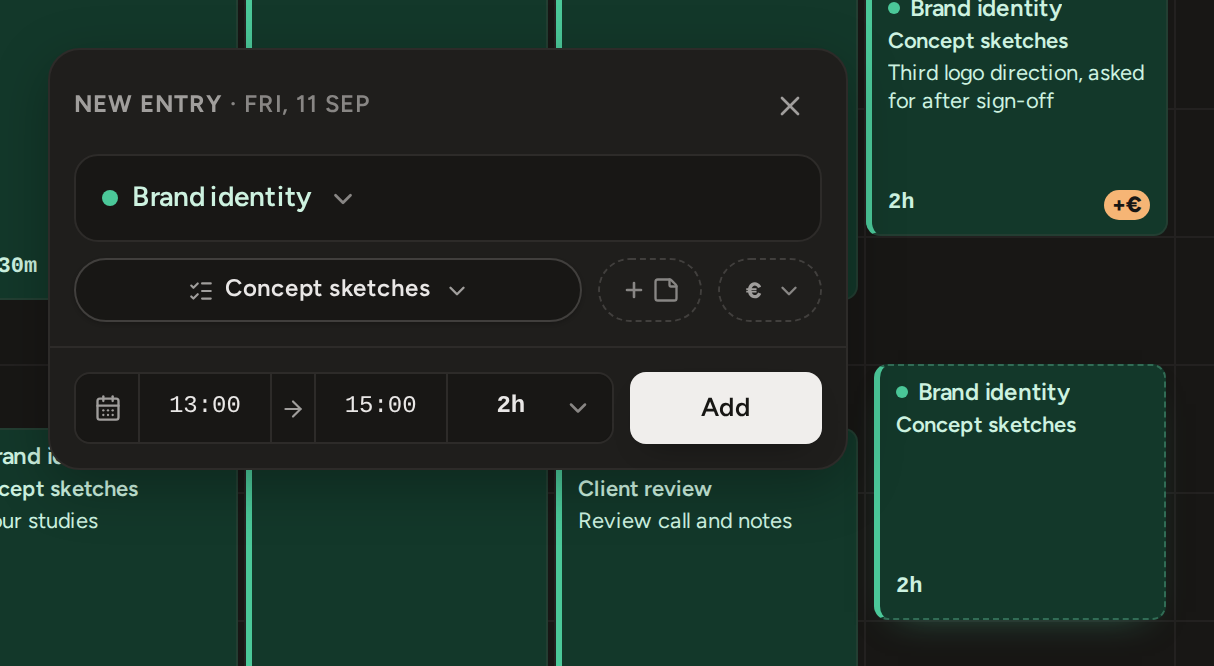
Pressing an empty slot without dragging starts a 15-minute entry there. Change its start time, end time or duration in the panel before saving, or resize it on the calendar afterwards.
Move and resize
On a computer, move an entry by dragging its middle. Change its length by dragging its top or bottom edge.
- Press the block and drag it to a new time or day.
- Press its top or bottom edge and drag to change how long it runs.
These calendar gestures snap to 15-minute steps. For an exact time, open the entry and type its start or end time. Typed times can use any minute.
- Releasing shows a message with Undo for ten seconds, so a move or resize that lands on the wrong day or time is easy to reverse.
- A very short entry still opens when pressed and can still be stretched from its bottom edge. Make it a little longer before trying to move it or resize it from the top.
Split an entry
There is no separate split command. To divide one block of time, shorten the original entry and create another entry for the remaining time.
- Shorten the original entry so it ends where the work changed. You can drag its edge or open it and change the end time.
- Create a new entry over the remaining time, then give it the right project, phase and task.
The two entries are independent. Each can have its own task, note and scope, and the same task name may be used on both.